Small Bathroom Layouts: How to Test Clearances Before Buying Fixtures
A fixture can fit perfectly on a bathroom plan and still block a drawer, catch the door or leave nowhere comfortable to stand. Before buying, turn the proposed layout into a measured test of finished dimensions, moving parts and daily routines.
A small bathroom layout should be tested before any fixture is ordered
For a compact residential bathroom remodel, the safest layout is not the one that merely fits on a product list. Verify finished room dimensions, exact fixture projections, plumbing positions, door movement and usable standing space before ordering products, subject to local code and manufacturer installation requirements.
This guidance is for homeowners testing small bathroom ideas in private homes, not designers specifying public or regulated accessible restrooms. A toilet can sit neatly between two lines on a drawing yet leave no comfortable place for knees, no path for a vanity drawer and no access for repairing a concealed valve.
| Layout threshold | Test | Hidden conflict | Verification method |
|---|---|---|---|
| Fits on plan | Fixture outlines remain inside the room | Projections exclude handles, traps, hinges or open doors | Use dimensioned manufacturer drawings rather than nominal product sizes |
| Meets an applicable minimum | Clearances satisfy the code adopted locally | The cited code edition may not govern the project, or the minimum may still feel tight | Confirm requirements with the local authority and relevant trades |
| Works in use | People can approach, turn, bend, clean and operate every fixture | Knees hit doors, elbows meet walls and drawers block circulation | Mark full-size footprints and movement zones with tape or cardboard |
Why can a dimensioned bathroom plan still fail in daily use?
A static plan shows objects, while daily use involves moving bodies and moving parts. Test the toilet with someone seated, the basin with elbows raised and the shower with a person bending to wash a leg. Swing the door, pull each drawer fully open and imitate cleaning behind the toilet. A few cardboard edges can reveal more than a polished rendering.
Legal compliance and comfortable use are separate checks. The NKBA Planning Guidelines were developed with reference to the 2024 International Residential Code and Canadian code material, but NKBA recommendations do not establish which code edition a project jurisdiction has adopted. Where the cited 2021 IRC provision applies, piping, fixtures and equipment cannot interfere with door or window operation, according to the American Society of Home Inspectors.
Accessibility dimensions also require context. The 2010 ADA Standards use a 30 by 48 inch clear floor space for wheelchair positioning in accessible design. That reference can clarify how much unobstructed floor area mobility requires, but ADA obligations do not automatically apply to every private-home bathroom. Applicability varies with project type, funding, jurisdiction and locally adopted rules.
Which bathroom dimensions must be confirmed on site?
Measure between finished surfaces, not assumed framing lines. Record wall-to-wall dimensions near the floor, at fixture height and around door-handle height because bowed, tapered or leaning walls can produce different readings. Finished floor level governs fixture height, while finished wall faces govern clear width, fixture projection and door clearance.
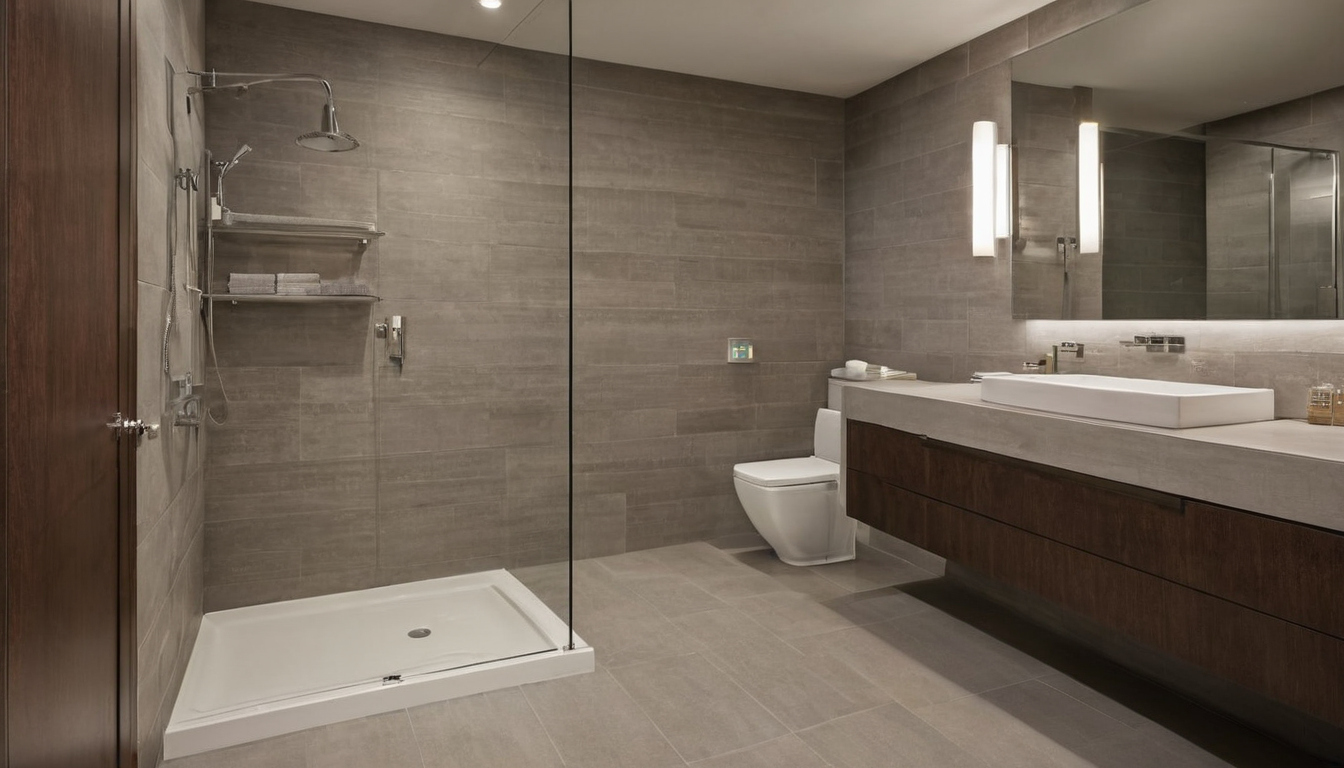
A small bathroom layout should be tested before any fixture is ordered shown with finish, fixture, and clearance relationships visible.
The site survey should locate the toilet waste outlet centerline, water supplies, basin and shower drains, vents, electrical points, windows, radiators, boxed pipes and structural elements that cannot move economically. Record door width, thickness, hinge position, handle projection and the complete swing arc. Note window opening paths and the heights of sills, valves and outlets.
Check squareness by measuring both diagonals and check parallel walls at several points. Mark any discrepancy on the survey rather than averaging it away. These verified conditions provide the raw material for the next decision: How do you draw an accurate small bathroom plan?
How do you draw an accurate small bathroom plan?
A useful small bathroom plan records existing construction first and proposed fixtures second. Measure the room at several points, mark plumbing centerlines and obstructions, draw at a consistent scale, and adjust the available space for wall finishes, waterproofing and floor build-ups that will remain after renovation.
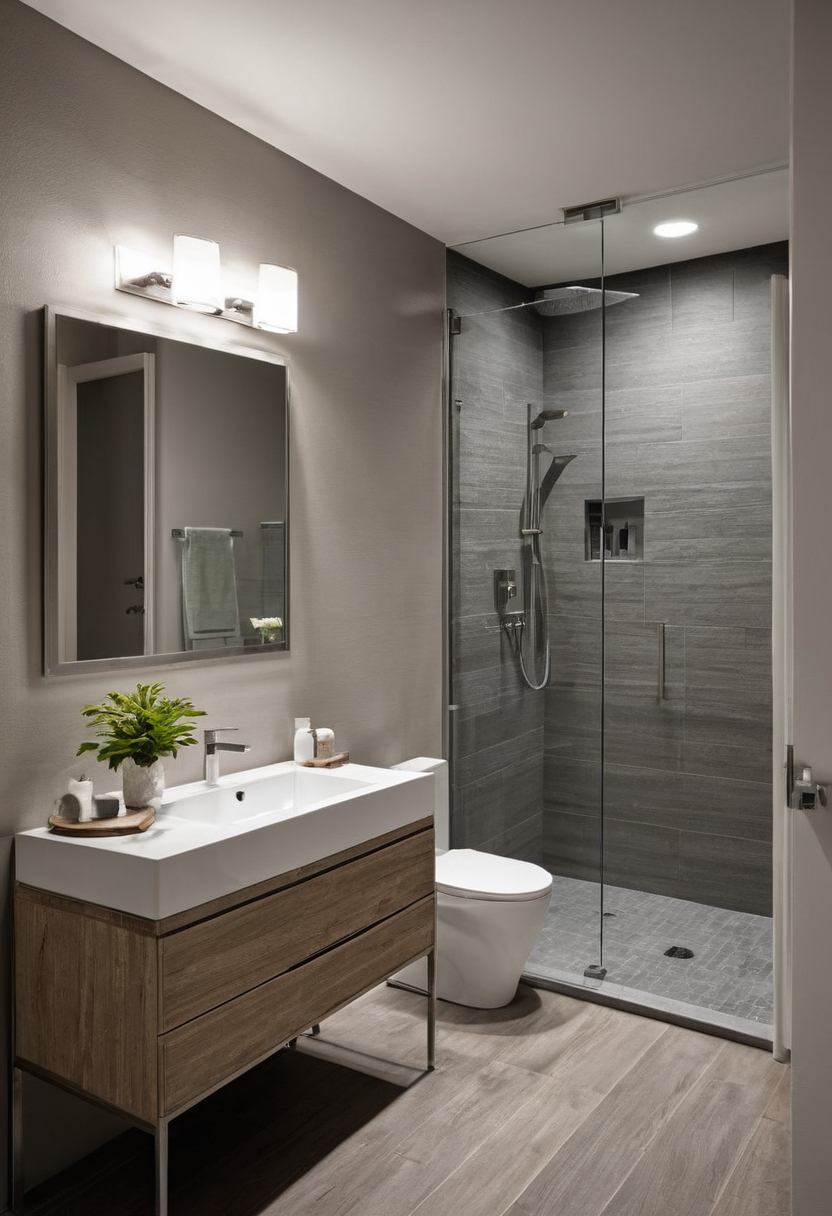
How do you draw an accurate small bathroom plan shown with finish, fixture, and clearance relationships visible.
Which bathroom measurements belong on the base plan?
Use a scale large enough to show trim, pipes and small offsets clearly. A metric plan at 1:20 or an imperial plan at 1/4 inch to 1 foot is practical for most homeowner surveys.
- Measure every wall segment at floor, counter and shoulder height. Record differences rather than assuming opposite walls are parallel.
- Record floor-to-ceiling height, soffits, beams, sloped ceilings and changes in floor level.
- Measure each structural opening, the actual door leaf, frame and trim. Draw the door’s full swing arc and locate hinges, handles and stops.
- Mark window width, height, trim, sill height and opening direction.
- Locate toilet waste, basin waste, supply pipes, shower drain and valves by centerline from two fixed walls.
- Plot switches, outlets, lights, radiators, ventilation grilles, fans and access panels.
- Photograph the tape measure against each critical dimension, then check that the individual wall segments add up to the overall room measurement.
Concealed pipe routes, joist direction, load-bearing walls and hidden moisture damage cannot be confirmed with a tape measure. A contractor or relevant trade should verify those conditions before demolition or fixture ordering. The U.S. Environmental Protection Agency advises correcting wet or damp areas promptly to limit mold growth, so staining or condensation deserves investigation rather than being drawn as a harmless surface defect.
How should finished surfaces change the bathroom dimensions?
Draw both the existing face and the proposed finished face of each wall and floor. Tile backer, waterproofing, adhesive, tile, plaster, wall panels and plumbing service cavities all consume space, but there is no reliable universal deduction. Use the selected manufacturers’ installation details and the project assembly specification.
The NKBA planning guidance covers coordination topics including waterproofing, wall backing, material performance, power and ventilation, but it does not prescribe product-specific assembly thicknesses. Confirm those dimensions with the installer.
A small reduction can narrow a shower between two tiled walls, reduce toilet side clearance or prevent a vanity from fitting between finished surfaces. Once the room boundary is accurate, the next question becomes decisive: which fixture dimensions determine whether a small bathroom works?
Which fixture dimensions determine whether a small bathroom works?
In a compact residential bathroom, product width is only one fit test. Compare toilet projection and rough-in, basin depth, drawer travel, shower interior dimensions, tap reach, opening paths and service access against the finished room dimensions and the current manufacturer installation drawing.
| Fixture or model | Nominal size | Actual projection | Required rough-in | Operating zone | Opening path | Service access |
|---|---|---|---|---|---|---|
| Floor-mounted toilet | Listed width and depth | Finished wall to bowl edge | Waste centerline and supply | Seated use and front clearance | Seat, lid and nearby door | Supply valve and tank parts |
| Wall-hung toilet | Bowl dimensions | Wall face to bowl edge | Carrier depth and waste route | Seated use and front clearance | Seat and lid | Flush-plate access panel |
| Basin or vanity | Cabinet or basin size | Tap and handle included | Trap, supplies and shutoffs | Standing and bending space | Drawer or hinged-door travel | Trap and valve reach |
| Shower and enclosure | Tray or base size | Finished internal space | Drain, valve and wall assembly | Turning, washing and drying | Door swing or sliding overlap | Drain, controls and rollers |
How should compact toilets be compared?
A compact label does not identify bowl projection, seat height, tank profile, waste connection or rough-in. A wall-hung bowl can expose more floor, but its concealed carrier requires sufficient wall or service-cavity depth and a maintainable access route.
Where the cited 2021 IRC provision applies, Section P2705.1.5 requires at least 21 inches of clear space in front of a toilet, lavatory or bidet to a wall, fixture or door. Confirm local adoption rather than treating that figure as universal or as a comfort recommendation. See the ASHI summary of the cited plumbing provisions.
How much space do basins and vanity drawers actually use?
A shallow vanity saves space only if the trap, supplies and shutoffs fit without disabling drawers. Tape the cabinet footprint on the floor, then mark full drawer travel and stand where a user would bend toward the basin. Include projecting taps and handles in the depth measurement.
What makes a compact shower usable rather than merely possible?
A shower must be tested at its finished internal dimensions, after backer, waterproofing, finish, enclosure frames, handles and controls reduce the apparent space. Where 2021 IRC Section R307.2 governs, specified shower and tub-surround surfaces require a nonabsorbent finish extending at least 6 feet above the floor.
Confirm every model number and drawing revision before rough plumbing is finalized. The next test is broader: door swings, circulation and storage access must be tested together.
Door swings, circulation, and storage access must be tested together
A small bathroom can satisfy isolated fixture clearances and still be awkward because moving elements compete for the same floor area. Test the entrance door, shower enclosure, vanity drawers, cabinet doors, toilet approach and towel positions simultaneously, while checking local requirements for emergency access, egress and adjacent corridors.
A clearance is not vacant space if a door crosses it, a drawer occupies it or a person needs it to bend and dry off. An ASHI inspection article describes one bathroom with about 17 inches between a toilet and vanity and another where the toilet obstructed the door, despite both homes reportedly having Certificates of Occupancy. These examples are not universal measurements, but they show why approval does not replace an operating test.
Should a small bathroom door swing outward or slide?
The correct door depends on corridor safety, wall construction, privacy and hardware, not simply the area saved inside the bathroom.
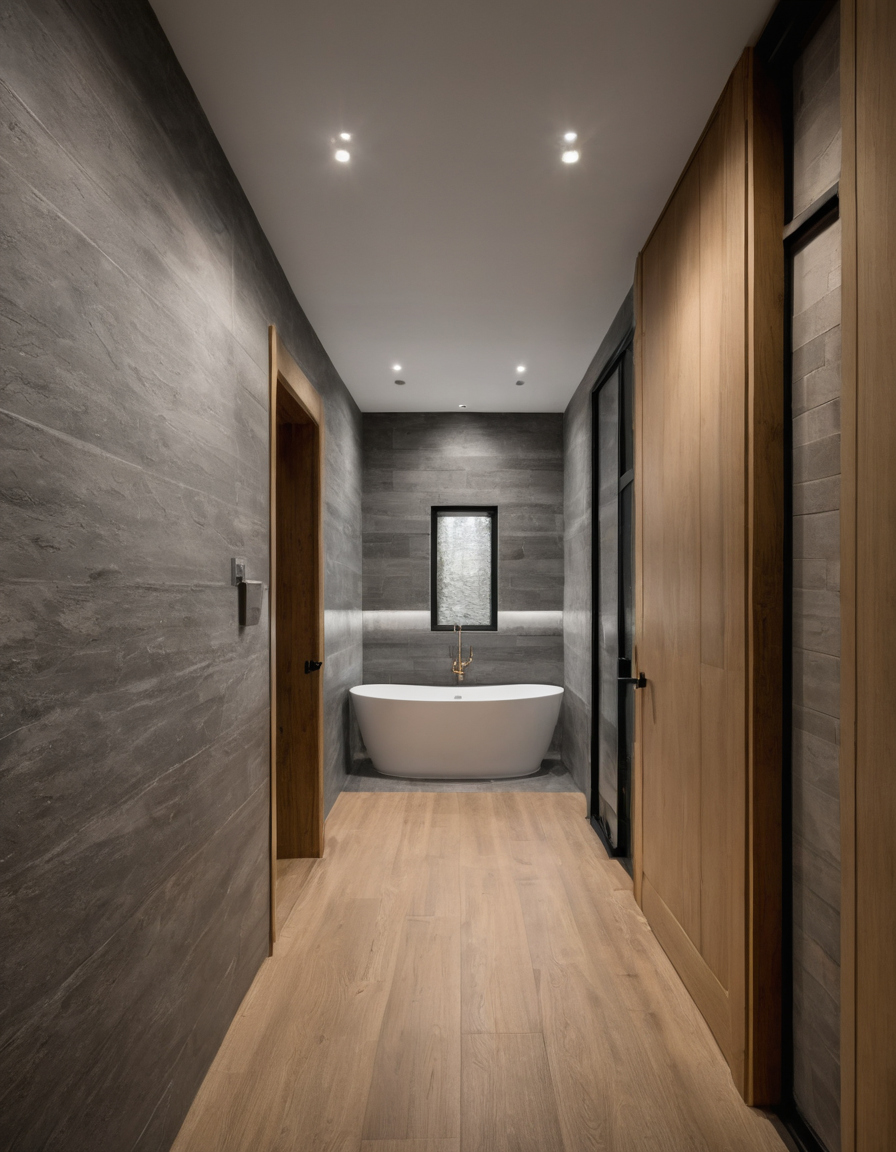
Door swings, circulation, and storage access must be tested together shown as a planning reference for layout, scale, and material decisions.
- Inward-opening door: Test the complete swing arc against the toilet, bath mat, vanity handles and any person who might fall behind the door. Confirm emergency-access expectations with the local authority.
- Outward-opening door: Check whether the leaf narrows a hallway, strikes another door or creates a hazard for passing occupants. Local rules and adjacent-room conditions may prevent this apparently simple change.
- Pocket door: Confirm that the wall can contain the pocket, reinforced frame and hardware without conflicting with plumbing, wiring, blocking or switches. Plan access for roller and latch maintenance.
- Surface-sliding door: Reserve clear wall beside the opening and check baseboards, towel rails, outlets and casing. Sliding doors can provide weaker sound and light control than a well-fitted hinged door, so inspect privacy seals and latch operation.
Accessibility is a separate test. The NKBA Planning Guidelines include advisory recommendations for doorways, clear floor spaces and users of mobility aids. Those recommendations are planning guidance, not proof that a specific private remodel is subject to an accessibility standard.
How much open floor area is needed for everyday bathroom movement?
Required fixture spacing, accessible clear floor space and comfortable movement are three different thresholds. Where the quoted 2021 IRC provision governs, a toilet, lavatory or bidet must have at least 15 inches from its centerline to a side wall, partition or vanity, and 30 inches center-to-center from an adjacent fixture. The local authority must confirm the adopted code and any amendments.
| Element | Likely conflict | Risk test |
|---|---|---|
| Entrance door | Toilet, user or corridor | Trace the full swing and stand behind it |
| Shower door | Vanity, towel rail or entrance | Open it while simulating a wet exit |
| Drawers and cabinets | Knees, handles or door leaves | Pull every front fully open |
| Toilet use | Vanity edge or storage | Test sitting, standing and cleaning |
| Towel storage | Door travel or shower access | Reach with doors open |
The NKBA’s updated planning method identifies activity zones and tasks, including considerations for mobility aids, as professional recommendations rather than enforceable provisions. Add room for the intended users to bend, turn, dry, assist a child or clean beside fixtures. Tape outlines reveal overlaps; the next question is how full-scale templates can test small bathroom ideas before construction begins.
How can full-scale templates test small bathroom ideas?
Full-scale templates reveal conflicts that a small drawing can hide. Before changing plumbing or ordering fixtures, mark finished wall lines and fixture footprints with removable tape, then add cardboard profiles for basins, toilet edges, controls, handles, doors and drawers. The test should reproduce normal use by the bathroom’s intended occupants.
What should be included in a full-size bathroom mock-up?
Build the mock-up in the existing bathroom, an adjacent room or any open floor area. Use removable tape, cardboard, a straightedge, a tape measure, labels and temporary hinges or taped swing arcs. Mark fixture centerlines, floor projections, operating zones, door travel and finished wall faces. Add vertical markers for basin rims, shelves, windows, towel rails, handles and shower controls.
Record each collision or awkward reach directly on the template. Revise the dimensioned plan, move the affected outline and repeat the movement test rather than treating the first arrangement as final.
Which daily tasks should the bathroom layout simulation reproduce?
- Enter, close and lock the door, use the toilet, wash hands, reach supplies, open storage and exit.
- Enter the shower, operate controls, dry, dress and retrieve towels without blocking another fixture.
- Reach beside, behind and below fixtures for cleaning, plumbing service and hardware adjustment.
Children, older adults, tall users, wheelchair users, caregivers and anyone sharing the room should participate when those scenarios apply. Once the layout survives those routines, approve it before finalizing plumbing, finishes and orders.
Approve the bathroom layout before finalizing plumbing, finishes, and orders
The bathroom layout should be frozen only after local code review, checks against current manufacturer drawings and a full-scale movement test. For a permitted remodel, the contractor or designer can then coordinate plumbing, electrical work, ventilation, backing, waterproofing, finish thicknesses and the fixture installation sequence before orders become commitments.
What must be checked before buying bathroom fixtures?
Where the cited 2021 IRC provisions govern, Section R307.1 requires fixture spacing to follow Figure R307.1 and Section P2705.1, according to the American Society of Home Inspectors. Local adoption and amendments still require confirmation.
- Verify model and finish codes, current installation drawings, rough-ins and finished-room fit.
- Test doors, drawers, enclosure travel, cleaning access and concealed service access.
- Confirm compatibility among taps, wastes, traps, carriers, valves, trays and enclosures.
- Check stock, lead time, delivery access, return fees, model revisions, damage inspection, warranty terms, accessories and replacement parts.
Which bathroom decisions must precede tile selection?
After permits and demolition expose concealed conditions, approve any moved drains, altered vents, structural work, electrical zones or accessibility requirements with the appropriate professionals. Then set rough plumbing, ventilation, wall backing, waterproofing, floor falls, drain positions, niches, thresholds and tile setting-out. These bathroom remodel decisions to make before choosing tile turn fixture buying from guesswork into a controlled installation sequence.
Frequently asked questions
What is the minimum clearance in front of a toilet in a small residential bathroom?
The cited 2021 IRC provision requires at least 21 inches in front of a toilet, lavatory or bidet where that provision applies. Local adoption and amendments must be confirmed, and a code minimum does not guarantee comfortable movement.
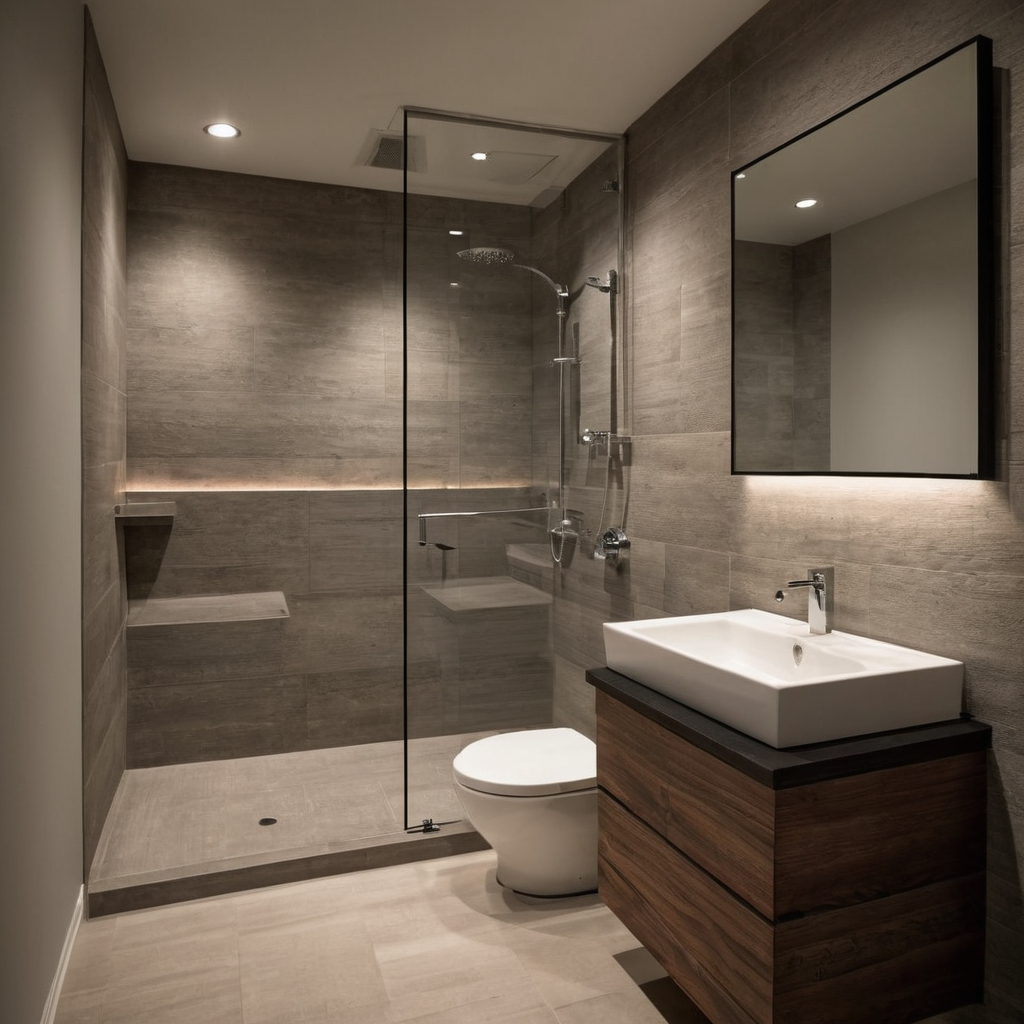
Approve the bathroom layout before finalizing plumbing, finishes, and orders shown with finish, fixture, and clearance relationships visible.
Can a bathroom door open outward, or should a compact bathroom use a sliding door?
Either arrangement may work. An outward-opening door must not create a corridor hazard, while a pocket or surface-sliding door needs suitable wall construction, hardware clearance, privacy and maintenance access. Check local requirements before changing the opening direction.
How small can a shower be before it becomes uncomfortable to use?
Nominal tray size alone cannot answer that question. Test the finished internal area after wall build-ups, frames, handles and controls are included, then simulate turning, washing, bending and exiting with a towel.
Should bathroom measurements be taken from framing or finished walls?
Use finished wall and floor faces for clearance and fixture-fit decisions. Framing dimensions remain necessary for rough construction, carriers, backing and concealed services, so the plan should distinguish between the two.
Do accessibility clearances apply to every private home bathroom remodel?
No single accessibility rule automatically applies to every private-home project. Requirements vary by jurisdiction, dwelling type, project scope, funding and local adoption. Accessibility guidance can still support safer long-term planning even when it is advisory.
Do not approve a fixture because its outline fits. Approve it only after the finished room, installation requirements, moving parts, service routes and daily movements have all survived the same full-scale test.